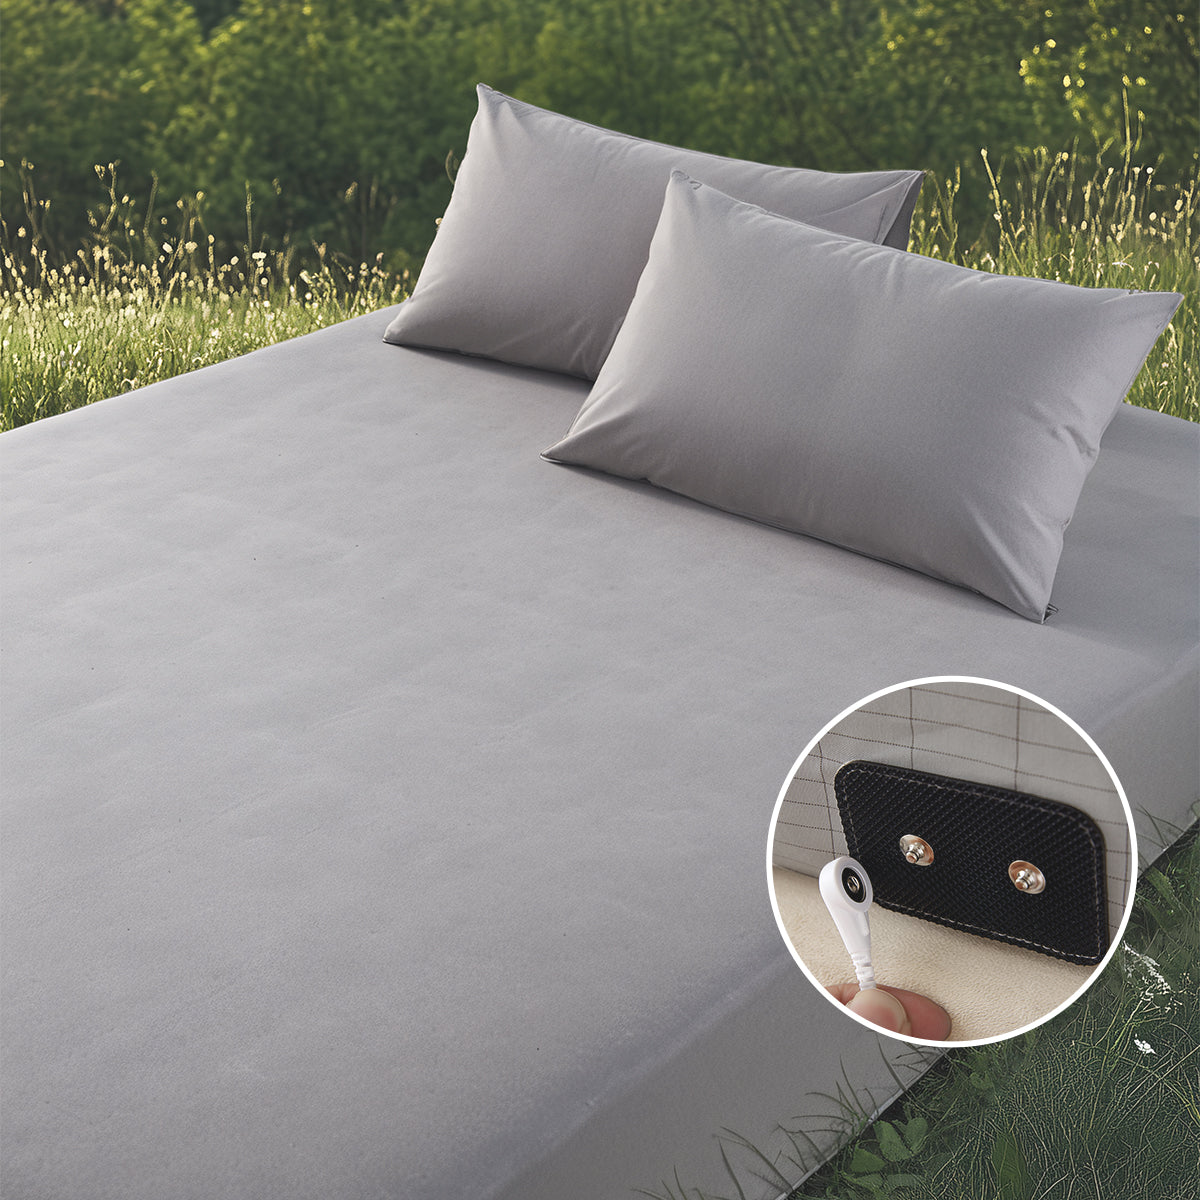
Simple Experiments to Verify Product Performance
Grounding (also known as earthing) has gained popularity for its scientifically supported benefits, including improved sleep, reduced inflammation, and balanced body voltage. However, many new users wonder:
👉 "How do I know if my grounding sheet is actually working?"
At GroundingTime, we believe in science-backed grounding and want our customers to feel confident in their products. That’s why we’re sharing simple, effective methods to test the conductivity and performance of grounding sheets — right from the comfort of your home!

🔬 Why Should You Test Your Grounding Product?
Grounding products work by connecting your body to the Earth’s natural electrical charge through conductive materials (such as silver fibers). However, several factors can affect their performance:
❌ Improper Connection – If a grounding sheet isn’t plugged into a grounded outlet or grounding rod, it won’t work.
❌ Loss of Conductivity – Over time, silver fibers can wear down, reducing their effectiveness.
❌ Environmental Interference – Nearby electronics and household wiring can generate voltage that may interfere with grounding.
By performing a scientific grounding test, you can:
✅ Ensure your grounding product is working properly
✅ Identify connection issues that may affect performance
✅ Verify conductivity to confirm long-term effectiveness
Here are three simple, science-backed methods to test your GroundingTime grounding sheet or other grounding products!
🧪 Method 1: Grounding Voltage Test (Most Accurate)
Best for: Verifying immediate grounding effectiveness Difficulty: ⭐⭐⭐⭐⭐ (Easy)
📌 What You Need:
✔ A grounding voltage tester (Earthing Voltage Meter) ✔ Your GroundingTime grounding sheet, pillowcase, or mat ✔ A properly grounded wall outlet or grounding rod
📌 How to Perform the Test:
1️⃣ Measure your body voltage before grounding
-
Stand indoors and hold the grounding voltage tester.
-
Record your body’s electrical voltage (typically 2V-10V, depending on environmental EMFs).
2️⃣ Touch the grounding sheet while holding the tester
-
Keep the tester probe on your skin while making direct contact with the grounding sheet.
-
Observe the voltage change on the meter.
3️⃣ Check if the voltage drops
-
If your grounding sheet is working correctly, your body voltage should immediately decrease to close to 0V (typically <0.1V).
-
This confirms that you are successfully grounded!
📌 Interpreting the Results:
✅ Voltage drops significantly (<0.1V) → Your grounding sheet is working properly. ❌ No significant change in voltage → Check the connection or test your product’s conductivity using Method 2.
🧪 Method 2: Multimeter Conductivity Test (Silver Fiber Check)
Best for: Checking the conductivity of your grounding sheet over time Difficulty: ⭐⭐⭐⭐ (Moderate)
If you have a digital multimeter, you can test your grounding sheet’s conductivity and silver fiber performance.
📌 What You Need:
✔ A digital multimeter (with resistance measurement option) ✔ Your GroundingTime grounding sheet or pillowcase
📌 How to Perform the Test:
1️⃣ Set your multimeter to the resistance mode (Ω)
-
Choose the 200Ω or 2kΩ setting to measure conductivity.
2️⃣ Test conductivity between two points on the sheet
-
Place the two multimeter probes on different spots on the grounding sheet.
-
Observe the resistance reading.
3️⃣ Check if the resistance is low
-
A high-quality grounding sheet should show very low resistance (<100Ω), indicating strong conductivity.
-
If the resistance is above 1kΩ, the silver fibers may be damaged or losing effectiveness.
📌 Interpreting the Results:
✅ Resistance is below 100Ω → The grounding sheet is still highly conductive and effective. ❌ Resistance is above 1kΩ → The sheet may have lost conductivity. Check cleaning methods and consider a replacement.
🧪 Method 3: LED Grounding Continuity Test (Quick & Easy)
Best for: A simple, visual test for conductivity Difficulty: ⭐⭐⭐ (Beginner-Friendly)
For a quick and easy method, use an LED grounding tester to check whether your grounding sheet is properly connected.
📌 What You Need:
✔ An LED Earthing Continuity Tester ✔ Your GroundingTime grounding sheet ✔ A grounded wall outlet
📌 How to Perform the Test:
1️⃣ Plug the LED tester into a grounded outlet. 2️⃣ Touch the grounding sheet while observing the LED light. 3️⃣ If the LED light turns on, your grounding sheet is properly connected!
📌 Interpreting the Results:
✅ LED light turns on → The grounding sheet is working and properly grounded. ❌ LED light does not turn on → Check the connection or test conductivity using Method 2.
🔍 How to Maintain Long-Term Grounding Effectiveness
While GroundingTime grounding sheets are built for long-lasting conductivity (proven to retain 70%+ conductivity after 100 washes!), proper care ensures optimal performance over time.
✅ Wash with care: Use warm water (<104°F / 40°C) + mild detergent (no bleach or fabric softeners). ✅ Air dry or low-heat dry: Avoid high-heat drying to prevent silver fiber oxidation. ✅ Test regularly: Use the above methods every 3-6 months to confirm conductivity. ✅ Ensure proper connection: Always plug your grounding sheet into a grounded outlet or use a grounding rod for outdoor grounding.
🌎 Conclusion: Is Your Grounding Product Really Working? Test It Yourself!
By following these three easy, science-backed methods, you can verify your GroundingTime grounding sheet’s effectiveness and ensure you’re getting the full benefits of grounding.
💡 Recommended Testing Methods: ✔ Grounding Voltage Test (Most Accurate & Scientific) ✔ Multimeter Conductivity Test (Silver Fiber Check) ✔ LED Grounding Test (Quick & Simple)
🔗 Discover GroundingTime grounding products and experience the benefits of true grounding today! 🚀
Previous post
How Bamboo Fiber and Silver Fiber Achieve the Perfect Blend
Next post


